Shuhei Kagawa

How to export CommonJS and ES Module

Jan 5, 2017 - JavaScript

After my previous post about jsnext:main and module, there came another issue.

Here is the twists and turns that I wandered to solve the problem.

Exports

The code of material-colors looked like the following.

colors.js specified in main (CommonJS version)

module.exports = {
  red: { /* ... */ },
  blue: { /* ... */ }
};

colors.es2015.js specified in jsnext:main/module (ES Module version)

export var red = { /* ... */ };
export var blue = { /* ... */ };

Then the ES Module file can get benefit of tree shaking if it's imported by named imports.

Problem of having only named exports

The colors.es2015.js broke react-color when built with Webpack 2 because it was doing default import but colors.es2015.js didn't have default export.

import material from 'material-colors';
console.log(material.red);

So @echenley suggested to change it to a wildcard import.

import * as material from 'material-colors';
console.log(material.red);

It worked well, but I removed jsnext:main and module because other libraries with default import may break on Webpack 2 and material-colors is already tiny without tree shaking anyway.

Have a default export

After a while, I came up with a better solution to have a default export in addition to named exports. Then it will work well with tree shaking and won't break default import. Pretty obvious after coming up.

export var red = { /* ... */ };
export var blue = { /* ... */ };

export default {
  red: red,
  blue: blue
};

So?

To keep maximum compatibility for CommonJS and ES Module:

  • If your CommonJS module exports only one thing, like encouraged in the npm world, export it as a default export.
  • If your CommonJS module exports multiple things, which essentially exports an object with them as properties, export named exports. In addition to it, it's safer to have a default export just in case for the problem described above.
How to set up and top up a prepaid SIM in Germany

Oct 3, 2016

I have moved to Berlin from Tokyo a week ago. I may or may not write about it later, but I'm going to share more practical stuff today.

Since I arrived in Germany, I bought two prepaid SIM cards and set up a SIM-free iPhone and a MiFi (mobile WiFi router). It was harder than I thought because I had never used a prepaid SIM before and most of official instructions were in German. I'd like to share what I did for people like me.

This post is a complement to Germany | Prepaid Data SIM Card Wiki | Fandom powered by Wikia. If you haven't read it yet, read it first.

Initial setup

After reading the wiki, I chose O2 as a network provider because of its rate and availability in Berlin's subway.

  1. Go to a large electronics store like Saturn.
  2. Find an O2 prepaid SIM.
  3. Bring it to an O2 representative in the store and ask her to activate it.
  4. Go to the casher and pay for the SIM card.
  5. Insert the SIM card into your phone/MiFi. You can ask shop staffs to open SIM card slot.
  6. Unlock the SIM card. PIN is on the white card that contains the SIM card. Also its phone number (Rufnummer) is on the same card.

Topping up

You can top up your SIM via a call, O2 mobile app or O2 website. I used O2 website because I couldn't make a call with my MiFi and I don't have German AppStore's account. The website is only in German. So it's convenient to use Google Chrome's translation feature.

  1. Go to a drug store chain like dm and buy one of O2 top-up cards like €20. They are usually put next to other prepaid cards like Apple, Google Play, Amazon, Zalando, etc. The actual top-up code is printed on your receipt. Or you can buy a top-up code online at aufladen.de. Thanks, Yan Yankowski for letting me know!
  2. Sign up for O2 website.
  3. Enter your phone number (Mobilfunknummer), preliminary password (Vorläufiges Kennwort) and new password (Neues Kennwort). The preliminary password is notified via SMS. If it's for your MiFi, you can access to the MiFi's admin page and read SMS.
  4. Go to Recharge tab (Mein O2 -> Mein Prepaid -> Guthaben & Aufladen) and enter your top-up card's code.
  5. (Optional) Choose your favorite plan (Tarif & SIM-Karte).

Draw animated chart on React Native

Jul 18, 2016 - JavaScript, React

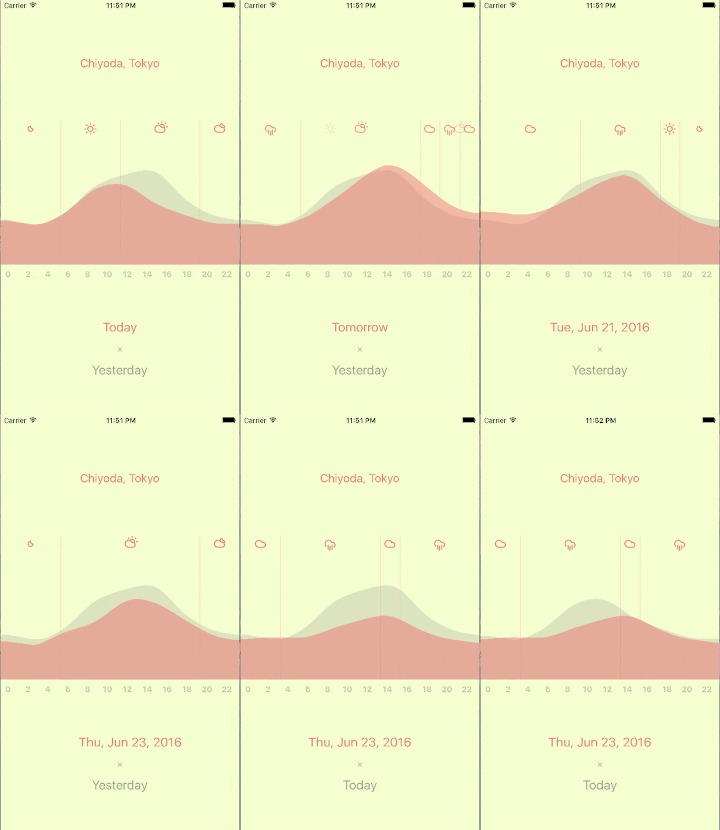
At Meguro.es #4 on June 21th, 2016, I talked about drawing animated chart on React Native. The talk was about the things I learned through developing an tiny app, Compare. It's a super simple app to compare temperatures.

Before creating it, I had no idea about what temperatures on weather forecast, like 15 degrees Celsius, were actually like. I remember what yesterday was like, but not the numbers. Typical weather forecast apps shows only future temperatures without past records. Thanks to The Dark Sky Forecast API, the app fetches both of past records and future forecasts, and show them together.

Compare app

The app's source code is on GitHub:

shuhei/Compare

There might have been some charting libraries to draw similar charts, but I like to write things from scratch. I like to reinvent the wheel especially when it's a side project. Thanks to that, I found a way to animate smooth paths with the Animated library.

If I have to add something to the slides: